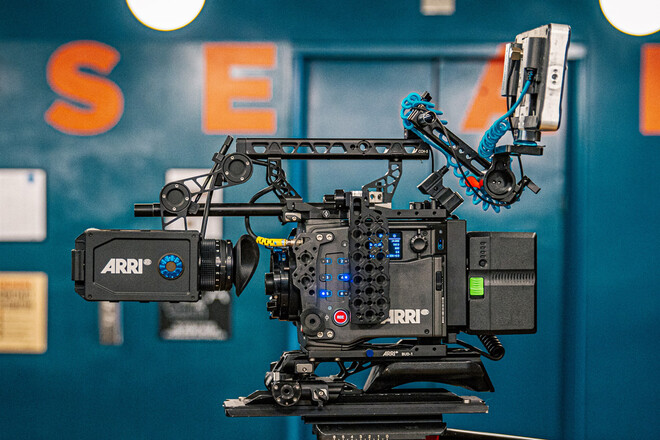
Ever wondered about the best way to get started with the rental process, and how to make sure you’re well prepared for your first rental? This is a step-by-step guide on how to prep rental cameras, lenses etc. for a shoot, and the most important things to watch out for.
1: Communication & Timing
When working on a production having an open line of communication with your crew, especially during the prep process, is your first and most crucial step. Be sure to reach out to each department (i.e. camera, lighting, or sound) to ensure a proper list is assembled of the necessary equipment for all parties involved. Once you have a completed list from each department, you can formally request a rental package from an equipment rental company. During prep, it is helpful to treat your rental agent with the same attentive care as if they are one of the crew. Be clear when requesting equipment rentals and be ready to answer any questions/requests they may have.
2: Check-Out
Following the approval of your rental request, you will be set to pick up and check-out your gear, turnaround time on this will vary. When planning a check-out, schedule an appropriate amount of time to physically review your order. Bring your finalized list of the equipment, this can be used as a checklist to go through the rented equipment to ensure every piece is accounted for before leaving the check-out. If you are using personal equipment with the rented equipment please remember to bring it to check-out. During this time you may review your order and see if there are any missing items you need to add. Allowing yourself ample time to check your gear thoroughly will give you the clearest picture of what you have and what is required.
PRO TIP: Take photos of how the cases are packed during check-out. You can later reference these photos when re-packing the cases for your return.
3: Test the Equipment
When checking out your newly rented equipment test the functionality of each piece of gear. This will ensure that your production runs smoothly as you have taken the time to familiarize yourself with how all the gear looks and functions. It is also an opportunity to notify the equipment rental company of any issues you discover and have them corrected before arriving on set. You may also use this time to ask the equipment rental company any questions about gear function and usage.
If unable to test your equipment at check-out, ensure it is all tested before you begin shooting. The sooner you resolve any potential issues the sooner you can get back to a successful shoot.
4: Transport
If unable to test your equipment at check-out, ensure it is all tested before you begin shooting. The sooner you resolve any potential issues the sooner you can get back to a successful shoot.
5: Organize it
Before your check-out is complete your job maintaining organization has already begun. Ensuring that all gear you use is accounted for is in your best interest. This will aid in the organization of both gear and your shoot. Creating an inventory list of all your gear will make clean-up easier as you will have a reference point for everything you have and where it needs to be returned. Be thorough with this list to optimize your time later. Taking a photo of how you received the gear can also be an effective way to keep yourself organized.
6: Keep Track of any Issues
Accidents do happen, if you encounter an issue on set be sure to keep track of it and document everything effectively. Be communicative with the team and all other relevant parties. Depending on the severity of the issue mark the problem with gaff-tape as “NG” (this is shorthand for No Good) and add it back to the kit. If the gear is rented gear please be sure to document everything, including what happened right before and after the issue.
7: Double-Check
The “double-check” step is one you should take after every step in the process. From double-checking your request list of gear, to double-checking your pick-up order matches the list, to double-checking everything is loaded up and accounted for by the end of the shoot.
8: Return
It is easy to put returning gear off as an afterthought, but this is arguably one of the most crucial steps to having a successful shoot. Be sure to have a well-formed plan on who is returning it, when they are returning it, and where they are returning it. Scheduling out proper transport for your return will take the pressure off once you have completed your set. Be sure to double-check your order before loading out for the day. Reference any list or photos you created during check-out to make sure that everything is packed the same. Packing everything in the same way you reserved it is the easiest way to stop any confusion during the return process. If you did have any issues on set be sure to communicate that again with the returns team so there is full transparency.
